Roblox Plugin Integration Guide
This guide will walk you through integrating the Endemic+ plugin into your Roblox experience, allowing you to automatically swap textures and track asset engagement in your games.
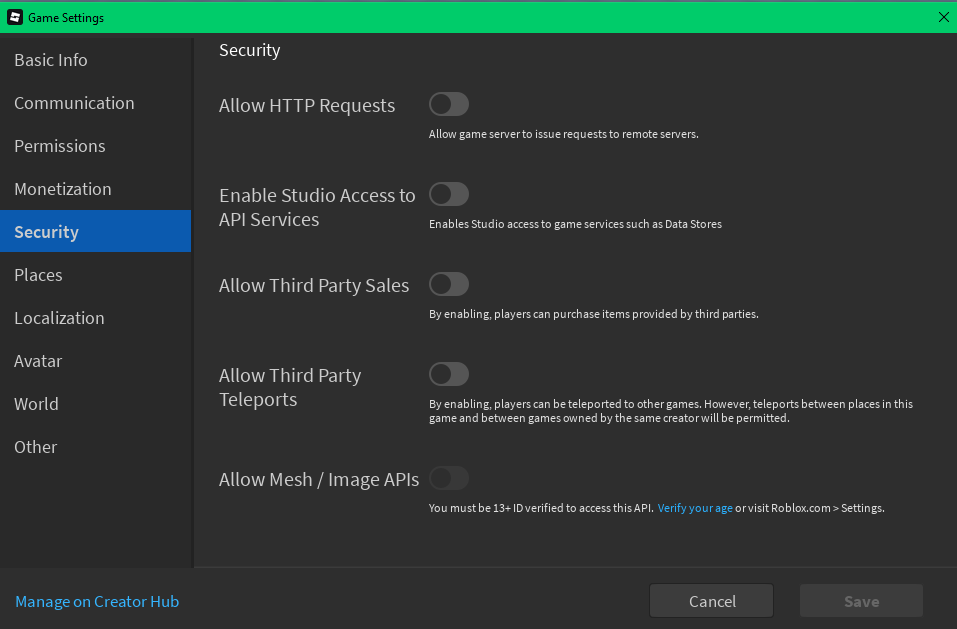
Enable HTTP Requests
Before installing the plugin, you need to enable HTTP requests in your Roblox Studio settings.
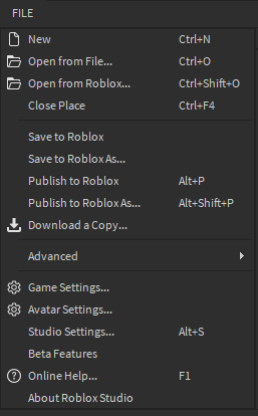
1) Navigate to FILE → Game Settings…
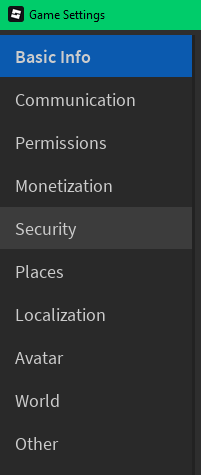
2) Select the Security tab
3) Enable "Allow HTTP Requests"
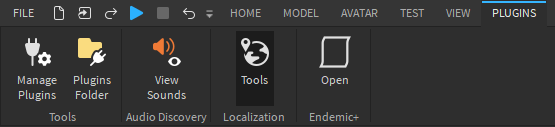
Installing the Plugin
Navigate to the Plugins tab and select "Plugins Folder"
Download and Install Plugin
Download the TextureSwapper.rbxmx file from here and drag it into the open directory.
You should now see a new button under Plugins that says "Open" and "Endemic+". You may need to restart Roblox Studio if you do not see it.
Setting Up
1) Navigate to the Plugins tab and select the "Open" and "Endemic+" button
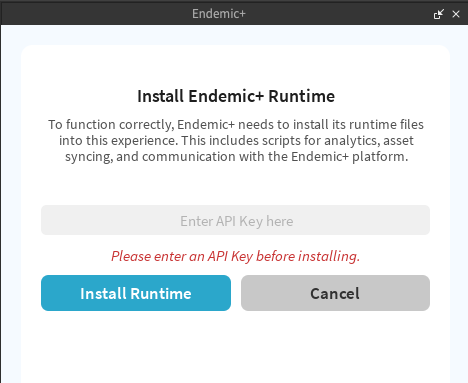
2) Install the Endemic+ Runtime
You will be prompted to install the Endemic+ Runtime into your project. Endemic+ needs this runtime to automatically query and replace asset textures while the game is running.
Paste your API Key and click "Install Runtime" to continue.
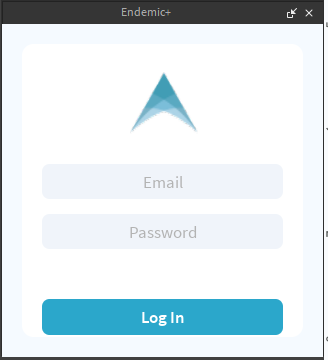
3) Log into your Endemic+ account
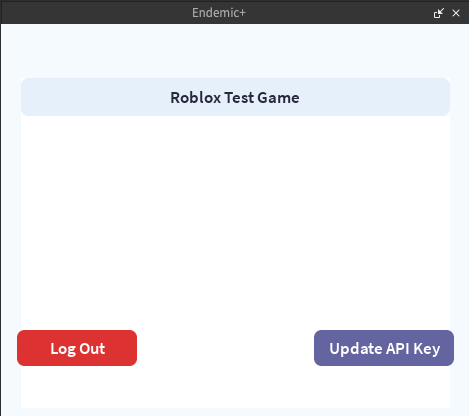
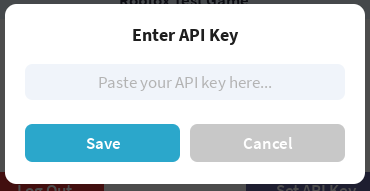
4) Update API Key (if needed)
If you ever need to update your API Key, click "Update API Key" to update it.
5) Save your API Key
Paste your Endemic+ API key into the text box and click "Save".
Basic Usage
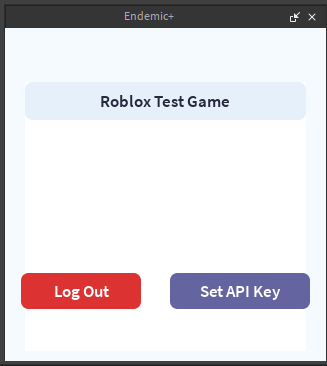
1) Select your game
Locate the game you currently have open and click on it.
(If the game does not exist, you'll have to add it on the Endemic+ platform first)
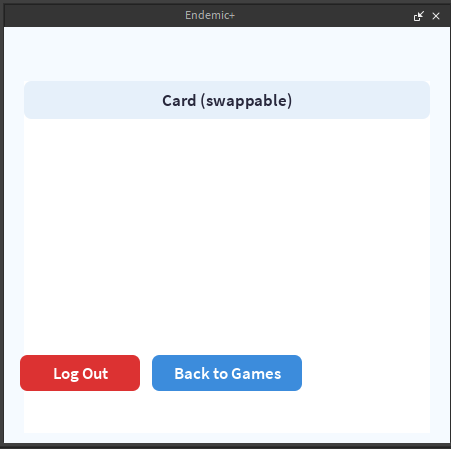
2) Find the Asset
Find the Asset you would like to bind to your game.
(If the asset does not exist, you'll have to add it on the Endemic+ platform first)
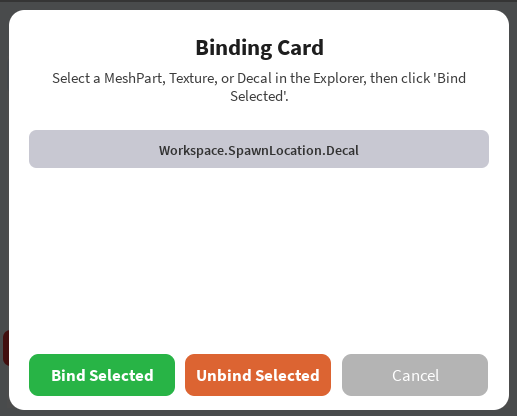
3) Binding window appears
You'll be prompted with the following window:
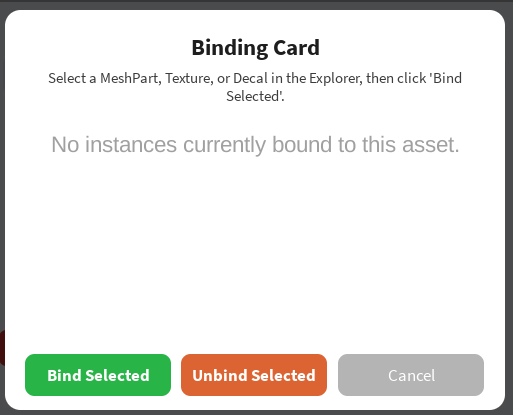
4) Select the texture
Select the texture associated with this asset.
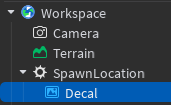
5) Click "Bind Selected"
Click "Bind Selected" to confirm the binding.
6) Verify the binding
You should see the path to this texture populate on the binding window.
Now if you play your game, you should see the textures automatically synchronize with the Endemic+ platform.